Introduction
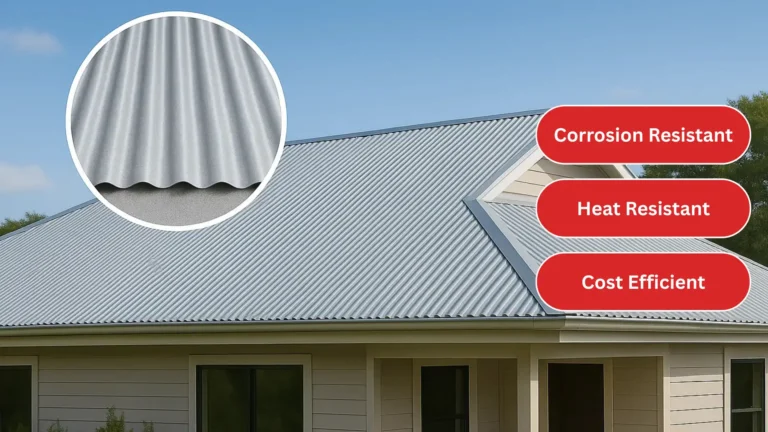
Roofing sheet inspection after installation is a systematic process of assessing the condition, durability, and safety of different roofing materials such as metal, polycarbonate, fiber cement, and asphalt sheets to prevent costly damage and structural risks. A professional roofing sheet maintenance not only ensures weather resistance but also improves roofing sheet safety for occupants by reducing chances of collapse or water intrusion. Experienced roof inspectors use visual checks, moisture meters, and even drone technology, offering evidence-based evaluations that help homeowners and businesses make informed repair or replacement decisions. By combining technical expertise with preventive care, roofing sheet inspection builds trust, saves long-term costs, and safeguards property value.
“Nothing is more critical to the long-term performance of a roof than establishing a program of regular inspections and proper maintenance.”
– National Roofing Contractors Association (Check)
Key Areas to Inspect in Roofing Sheets
A thorough roofing sheet inspection checklist focuses on identifying early signs of wear and damage that could compromise roof safety and durability. During checking, professionals and trained homeowners should carefully check:
-
Corrosion and Rust –
Common in metal sheets (GI, steel, aluminum), weakening structural strength.
-
Loose Fasteners & Joints –
Screws, bolts, or rivets that loosen over time cause gaps and leaks.
-
Surface Coating or Paint Damage –
Exposed layers accelerate corrosion and UV degradation.
-
Cracks, Holes, or Leaks –
Especially in fiber cement and polycarbonate sheets, allowing water intrusion.
-
Sagging or Warping –
Indicators of poor support or trapped moisture under sheets.
-
UV and Weather Damage –
Plastic or polycarbonate sheets often become brittle under prolonged sun exposure.
-
UV and Weather Damage –
Plastic or polycarbonate sheets often become brittle under prolonged sun exposure.
“By systematically addressing these points, roofing sheet inspections not only protect property value but also ensure occupant safety, energy efficiency, and long-term roofing performance.”
Download the roofing sheet inspection checklist in PDF format.
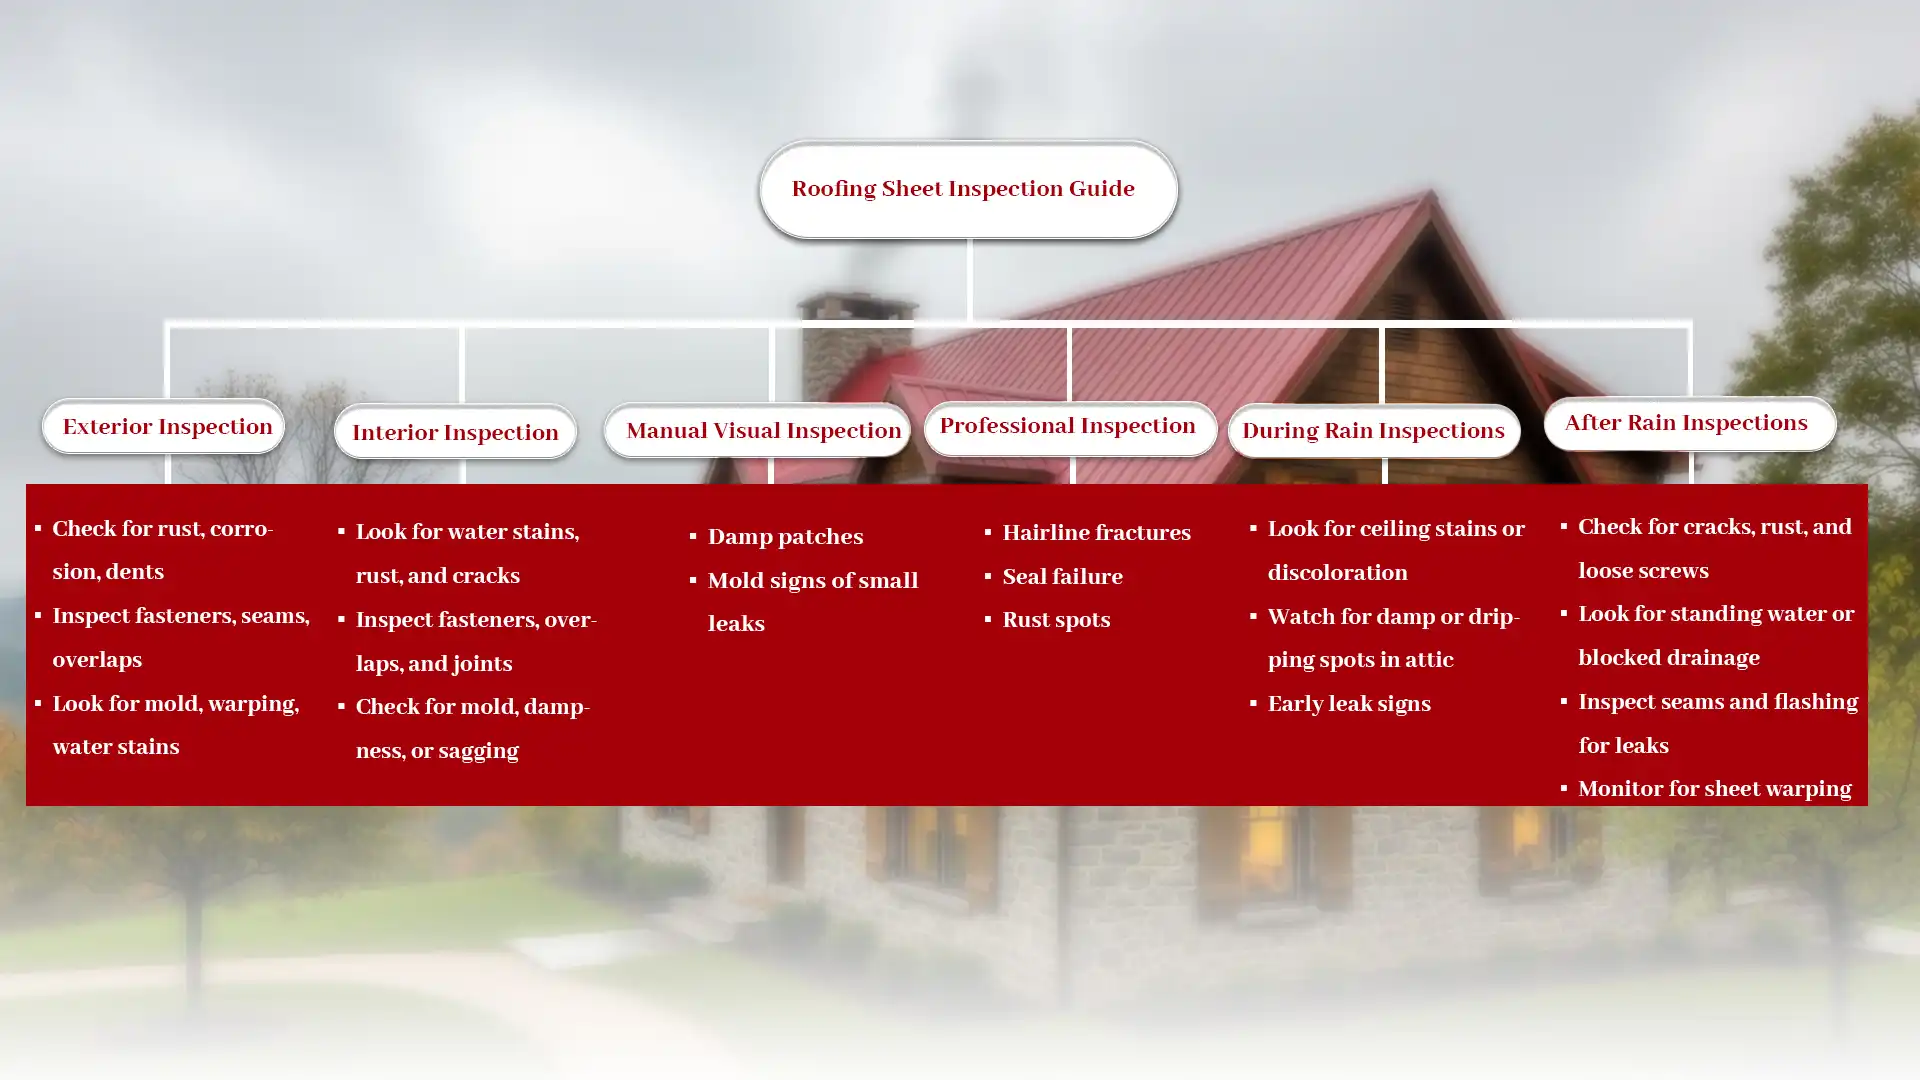
Interior Inspection Guide
Interior roofing sheet inspection ensures early detection of leaks, corrosion, and structural issues. Regular checks reduce costly repairs and extend roof lifespan. Professionals recommend inspecting fasteners, joints, and underlayment for safety and durability.
- Look for water stains, rust, and cracks
- Inspect fasteners, overlaps, and joints
- Check for mold, dampness, or sagging
- Ensure ventilation and insulation health
Exterior Inspection Guide
- Check for rust, corrosion, dents
- Inspect fasteners, seams, overlaps
- Look for mold, warping, water stains
Manual Visual Inspection
A manual visual examination is an easy way of assessing the status of your roof. You should look for
- loose fittings
- Gaps
- rust or visible damage
- water stains
- damp patches
- mold signs of small leaks
- poor installation
- aging joints
- loose or missing patches
- visible cracks
- rust patches
- punctures
These may help to indicate early signs of wear. It is vital to ensure the integrity and life of your roof. Spotting these early prevents costly structural damage and protects insulation from moisture related problems.
When to Choose Manual Checking
- For quick visual observations after mild rain or wind.
- To spot obvious issues like broken tiles, loose sheets, or moss buildup.
- When you want to monitor the roof in between professional visits.
- For low-cost, routine checks without specialized equipment.
- When the roof is easily accessible and safe to climb.
“Use manual checking for quick, surface-level monitoring.”
Professional Inspection
Having a professional checking is more than just a visual check as they combine hard-earned experience, specialized equipment, and strict safety protocols. Professionals have the capability of discovering hairline fractures, seal failure, rust spots or even misalignments that a visual checking may overlook.
They also can evaluate the overall condition of roofing materials, age of the materials, and whether the materials were installed correctly, in compliance to safety standards, and to building and safety codes. They can create the best maintenance program for your roof, protect you from costly repairs from unplanned damage, and help maximize performance and service life from your roofing.
By combining accuracy, technology and experience, professional inspections deliver long-term value, safeguard investments, and ensure a roof continues to perform at its best for years to come.
Homeowners hire a licensed roof inspector to inspect, repair, and certify their roofs annually. An annual roof inspection can save their roof, time, and money.
– National Roof Certification and Inspection Association (NRCIA) (Source)
When to Choose Professional Checking
- After severe weather (storms, hail, heavy rainfall, or earthquakes).
- If there are leaks, dampness, or unusual ceiling stains inside the house.
- When planning for roof repair, replacement, or insurance claims.
- To detect hidden problems (corrosion, water seepage, structural weaknesses).
- For annual or bi-annual preventive maintenance.
- When the roof is steep, high, or made of fragile material (asbestos, clay tiles).
“Use professional checking for detailed, safety-critical, or high-value inspections.”
Difference Between Manual and Professional Checking
| Aspect | Manual Checking | Professional Checking |
|---|---|---|
| Who Performs It | Homeowner or untrained worker | Certified roof inspector or contractor |
| Tools Used | Basic tools (ladder, torchlight, hammer) | Advanced tools (moisture meters, drones, thermal cameras, safety harnesses) |
| Inspection Depth | Limited to visible issues only | Covers visible + hidden issues (structural, waterproofing, safety) |
| Accuracy | May miss small cracks, leaks, or hidden corrosion | High accuracy due to expertise and equipment |
| Safety | Higher risk of falls or mishandling fragile sheets | Follows safety standards with protective gear and equipment |
| Scope | Surface-level (loose sheets, visible cracks, moss growth) | Comprehensive (fasteners, underlayment, water damage, structural integrity) |
| Time Taken | Quick but superficial | Detailed and may take longer |
| Documentation | Usually no report | Provides inspection report with photos, findings, and recommendations |
| Cost | Low or no cost | Professional fee involved |
| Best For | Quick visual checks in between maintenance schedules | Annual/bi-annual preventive inspections and before major repairs |
During Rain Inspections
During the rain, it is important to observe ceiling areas, walls and attic spaces for drips or damp spots or discoloration.
Key points:
- Look for ceiling stains or discoloration
- Watch for damp or dripping spots in attic
- Early leak signs
After Rain Inspections
After rain, inspect roofing sheets for cracks, rust, loose fasteners, and water pooling to prevent leaks or structural damage. Certified pros advise prompt repairs to extend roof life.
Key points:
- Check for cracks, rust, and loose screws
- Look for standing water or blocked drainage
- Inspect seams and flashing for leaks
- Monitor for sheet warping or discoloration
“When a roof is in good condition and properly installed, rain damage is rare. However, if your gutters are clogged, the water may not be able to drain off your roof properly. This can result in the water slowly damaging the roofing materials. In very heavy downpours, water can quickly gush out of downspouts, potentially damaging landscaping. A downspout diverter or extension can help redirect excess storm rainwater, resulting in less ground damage.”
– IKO Industries (Source)
How Different Types of Roofing sheets Need Specialized Inspection Directives
| Type of Roofing Sheet | Inspection Focus Areas | Specialized Directives | Recommended Inspection Frequency | Critical Inspection Triggers |
|---|---|---|---|---|
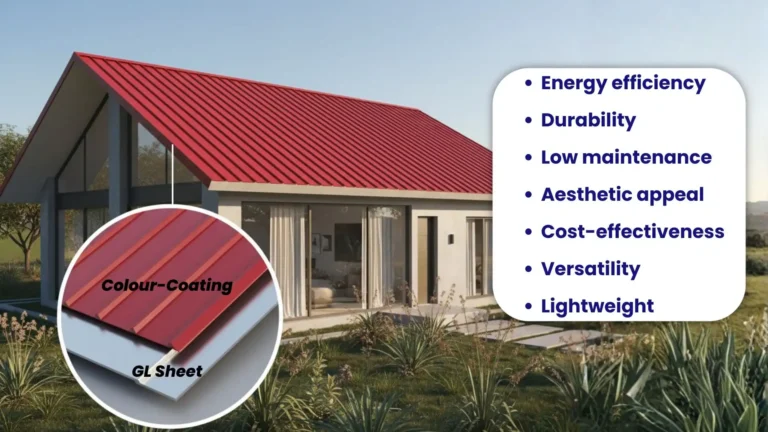
| Metal Roofing Sheets (GL Sheet, Aluminum Sheet, Steel Sheet) | Corrosion, loose fasteners, surface coating damage | Inspect for rust spots, especially near joints and fasteners. Check protective coatings/paint layers for peeling. Verify structural alignment and fastening tightness. | Every 6–12 months | After heavy rain, hailstorms, or visible rust patches |
| Asbestos Cement Sheets | Cracks, brittleness, water seepage | Handle carefully due to health risks (asbestos fibers). Check for hairline cracks and breakage. Ensure no moss or fungal growth is weakening the surface. | Every 12 months | After storms, high winds, or visible cracking |
| Colored Roofing Sheets (color coated Al-Zinc Alloy Sheet) | Fading, chipping, surface corrosion, joint leaks | Inspect paint/powder coat for fading, chalking, or peeling. Check for scratches exposing base metal. Verify waterproofing at overlaps and joints. | Every 6–12 months | After storms, high UV exposure, or visible paint peeling |
Regular roofing sheet inspection ensures durability, safety, and leak prevention. Experts recommend inspecting every 6-12 months or immediately after storms, heavy rain, extreme heat, or visible damage.
Key Focus Areas:
-
Metal/Colored Sheets:
Watch for rust, fading, coating peel, and loose fasteners.
-
Asbestos & Fibre Cement:
Check for cracks, brittleness, dampness, and moss growth.
-
Polycarbonate & PVC:
Look for UV damage, warping, yellowing, and joint leaks.
-
Bitumen/Asphalt:
Inspect for blistering, cracks, or UV brittleness.
-
Clay/Tiles:
Detect broken or displaced tiles, seepage, and efflorescence.
Roofing Sheet Inspection Guide for Building Types
| Building Type | Inspection Focus Areas | Inspection Frequency | Special Notes |
|---|---|---|---|
| Residential Homes | Rust, loose fasteners, leakage spots, attic ventilation | Every 12 months & after storms | Early detection prevents costly interior water damage (NRCA). |
| Commercial Buildings | Flat roof drainage, surface coating wear, expansion gaps, HVAC unit penetrations | Every 6–12 months | Ensure compliance with safety codes and energy efficiency standards. |
| Industrial Facilities | Corrosion from chemicals, structural fastener strength, vibration-induced damage | Every 6 months or post-heavy rains | Requires advanced inspections with moisture meters, drones, and thermal imaging. |
| Agricultural Structures | UV damage on polycarbonate sheets, pest intrusion, ventilation gaps | Seasonal inspections (pre/post harvest) | Protects crops, livestock, and ensures structural durability under extreme weather. |
Roofing sheet inspections vary depending on the type of building, as residential, commercial, and industrial structures face different environmental pressures and safety standards. For example, residential homes require frequent roofing sheet health checks to prevent leaks that can cause interior water damage, while industrial facilities demand strict roofing sheet safety inspections due to heavy machinery vibrations and chemical exposure. Professional assessors emphasize that each building type has unique checking priorities that must be systematically addressed.
Roofing Sheet Inspection Guide for Extreme Weather Conditions
| Extreme Weather Condition | Inspection Focus Areas | Recommended Frequency | Expert Notes |
|---|---|---|---|
| Heavy Rain / Monsoon | Check for leaks, clogged drainage, water pooling, rust formation | Before & after every monsoon season | Ensure waterproof coatings are intact; verify slope and gutter functionality. |
| High Winds / Storms | Inspect loose fasteners, sheet uplift, ridge caps, flashing integrity | Immediately after major storms | FEMA recommends post-storm inspections to prevent progressive structural damage. (Check) |
| Extreme Heat / UV Exposure | Look for fading, brittleness, coating wear, polycarbonate sheet cracks | Every 6 months | Use UV-resistant coatings to extend roof lifespan and prevent thermal expansion. |
| Snow / Hail Conditions | Check for sheet dents, cracks, sagging under snow load, and fastener loosening | Before & after winter season | NRCA suggests reinforcing load-bearing areas for snow-prone regions. |
In regions exposed to storms, heavy rainfall, high heat, or snow loads, roofing sheet inspection becomes a critical safety and maintenance priority. Regular roofing sheet health checks allow homeowners, facility managers, and inspectors to identify vulnerabilities—such as fastener loosening from wind uplift, UV cracking in polycarbonate sheets, or water pooling on flat commercial roofs—before they escalate. Experienced inspectors recommend using advanced tools like thermal cameras and drones in such areas to ensure accurate assessments and strengthen roofing sheet safety against weather extremes.
Also learn about the seasonal maintenance tips for coloured roofing sheet.
Safety Precautions During Inspection
Carrying out a roofing sheet inspection requires strict adherence to safety standards, as falls from roofs remain one of the leading causes of construction-related injuries. Whether homeowners conduct a DIY check or professionals perform a roofing sheet health check, implementing the right safety measures is essential to protect both workers and property. Trusted roof inspectors emphasize that safety gear, proper training, and environmental awareness are non-negotiable for reliable examination.
-
Use Personal Protective Equipment (PPE):
Safety harnesses, helmets, gloves, and non-slip shoes reduce fall risk.
-
Check Weather Conditions:
Avoid checking during rain, storms, or high winds to prevent slips and accidents.
-
Secure Ladders Properly:
Ensure ladders are stable, on level ground, and extend at least 3 feet above the roof edge.
-
Secure Ladders Properly:
Ensure ladders are stable, on level ground, and extend at least 3 feet above the roof edge.
-
Work in Pairs:
Having a spotter or partner increases safety and provides assistance in emergencies.
-
Use Technology When Possible:
Drones and thermal imaging reduce the need for direct roof access in hazardous conditions.
Conclusion
Regular roofing sheet inspection is not just a maintenance routine but a preventive strategy that safeguards structural integrity, ensures roofing sheet safety, and saves long-term repair costs. Whether for residential homes, commercial complexes, or industrial facilities, tailoring checking practices to building type and local weather conditions offers unlimited benefits. By combining professional expertise, modern tools, and safety standards, property owners can confidently maintain durable, weather-resistant roofs that stand the test of time.
Written and Verified by:
Rhino Roofs
Bio: Leading roofing sheet manufacturer with 50+ years of experience in the Northeast. Rhino Roofs provides color-coated, galvalume and asbestos cement roofing sheets.
FREQUENTLY ASK QUESTIONS
To fix issues found in roofing sheets, start with simple steps like tightening loose fasteners, sealing small leaks with waterproof sealants, and applying anti-rust or UV-protective coatings. For cracks, sagging, or severe corrosion, replacement is safer. Experts recommend scheduling a professional roofing sheet inspection to ensure long-term safety and durability.
Preventive maintenance for roofing sheets includes regular cleaning to remove debris, checking and tightening fasteners, applying anti-rust or UV-protective coatings, and ensuring proper drainage to avoid water pooling. Trim nearby trees to prevent damage, and schedule routine roofing sheet inspections to catch early issues before they become costly repairs.
A roofing sheet should be inspected every 6–12 months, and immediately after storms or heavy rain, to detect leaks, rust, or damage early and ensure long-term roof safety and durability.
Yes, you can inspect your roofing sheet safely if you use proper precautions like sturdy ladders, non-slip shoes, and personal protective equipment. Always check in dry, calm weather and never rush the process. However, for steep roofs, hidden leaks, or structural concerns, it’s safer to hire a professional roofing inspector to ensure accuracy and maintain roofing sheet safety.
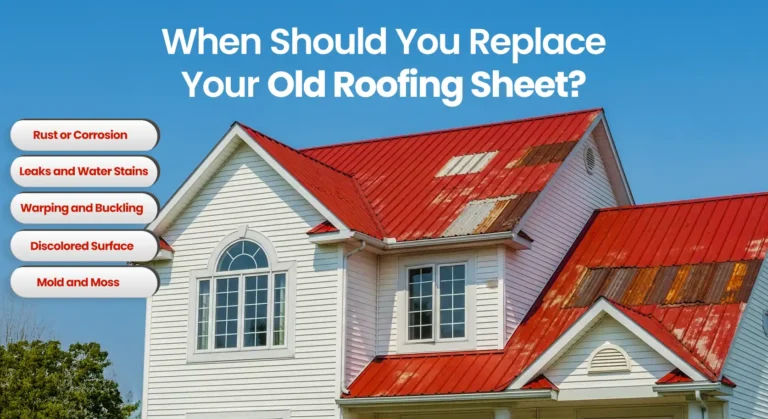
You might spot early roofing sheet damage by noticing leaks, rust spots, loose or missing fasteners, sagging areas, or unusual noise during wind. Water stains on ceilings or mold in the attic are also warning signs. Catching these early can save you from costly repairs later.